Did you know that a traditional Swiss gipfeli recipe yields pastries that contain only 210 calories each? Although Swiss gipfeli closely resemble French croissants, these delightful pastries offer a lighter alternative with their firmer texture and slightly less butter.
During my travels through Switzerland, I discovered these golden treasures while enjoying a boat ride on Lake Brienz – a stunning backdrop at 853 feet deep for enjoying such a simple pleasure. What makes the Swiss gipfeli recipe special is certainly its distinctive flavor profile, which is slightly sweeter than its French cousin. Additionally, the lamination process creates those perfect flaky layers we all crave in a morning pastry.
I’ve spent countless hours perfecting this traditional swiss gipfeli recipe, from understanding the importance of cold butter to mastering the series of folds that create those irresistible layers. Indeed, the process might take several hours with multiple rests, but the result is well worth the effort. Whether you’re interested in the classic version or variations like the indulgent schoggi gipfeli recipe with chocolate filling, I’ll guide you through each step to achieve bakery-quality results at home.
What Makes the Swiss Gipfeli Recipe Unique
Swiss Gipfeli have earned their distinctive place in the world of pastries despite often being mistakenly labeled as “Swiss croissants.” Having sampled these delightful treats throughout Switzerland, I can confidently say they deserve recognition for their unique characteristics.
Gipfeli vs. Croissants: Understanding the Differences
The phrase “Ein Gipfeli ist kein Croissant” (A gipfeli is not a croissant) perfectly captures the essence of this Swiss specialty. At first glance, both pastries share a crescent shape, yet the differences become apparent with the first bite:
- Texture and Structure: Gipfeli offer a more substantial bite with a softer, denser texture compared to the light, airy French croissant. The exterior tends to be crisper, while the interior remains tender.
- Butter Content: French croissants are famously rich in butter, whereas Swiss gipfeli contain notably less fat. This creates a less greasy, heartier pastry that still maintains delicious flakiness.
- Taste Profile: Gipfeli typically feature a slightly sweeter dough that may incorporate milk or cream. This subtle sweetness makes them particularly enjoyable with morning coffee.
- Shape and Size: Traditional gipfeli are often smaller with a tighter curl than their French counterparts. They maintain a more pronounced crescent shape that stays true to their name (croissant means “crescent”).
Furthermore, the preparation technique differs subtly. Gipfeli undergo less intensive lamination—the process of folding butter into dough repeatedly—resulting in fewer layers but a more distinct, pronounced texture.
Why Swiss Bakers Use Less Butter in Gipfeli Recipe
The reduced butter content in gipfeli isn’t merely coincidental—it reflects both Swiss baking philosophy and practical considerations. Swiss bakers traditionally aimed for a pastry that was indulgent yet not overwhelmingly rich. This approach creates a more versatile pastry suitable for everyday consumption rather than an occasional treat.
European-style butter with at least 82 percent butterfat remains essential to creating authentic gipfeli. Despite using less quantity, the quality of butter significantly impacts the final product. I’ve found this creates those distinct flaky layers while maintaining a heartier structure.
The Swiss preference for a firmer, less greasy pastry also makes gipfeli more practical. They’re easier to handle without leaving buttery residue on fingers, making them ideal for on-the-go breakfasts. Consequently, gipfeli have become a staple in Swiss daily life rather than just a special occasion indulgence.
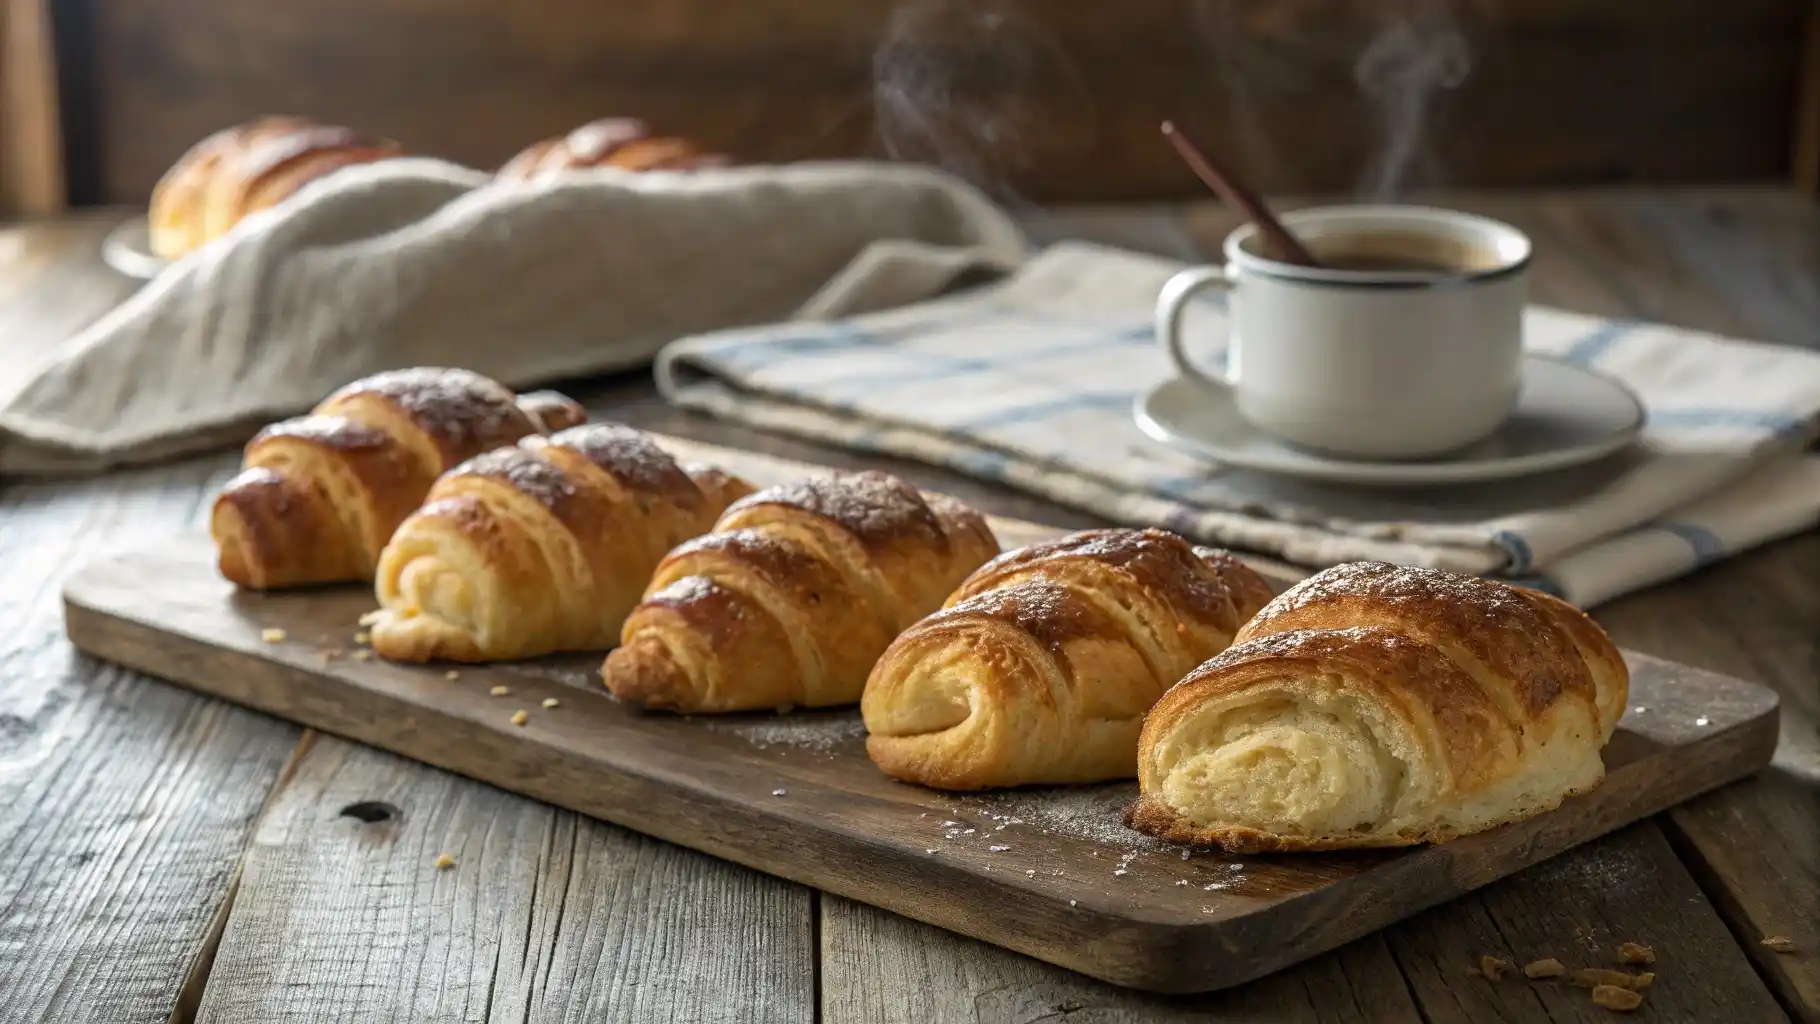
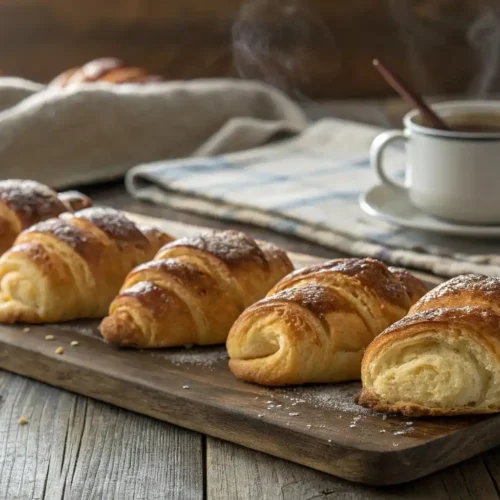
When to Enjoy Authentic Swiss Gipfeli: Tradition Meets Taste
In Switzerland, these golden treasures have specific cultural contexts. Traditionally, Swiss people enjoy their gipfeli at the 9 am break known as “s’Nüni”. This morning ritual often pairs fresh gipfeli with strong coffee or hot chocolate, creating a perfect balance between the pastry’s subtle sweetness and the beverage’s robust flavor.
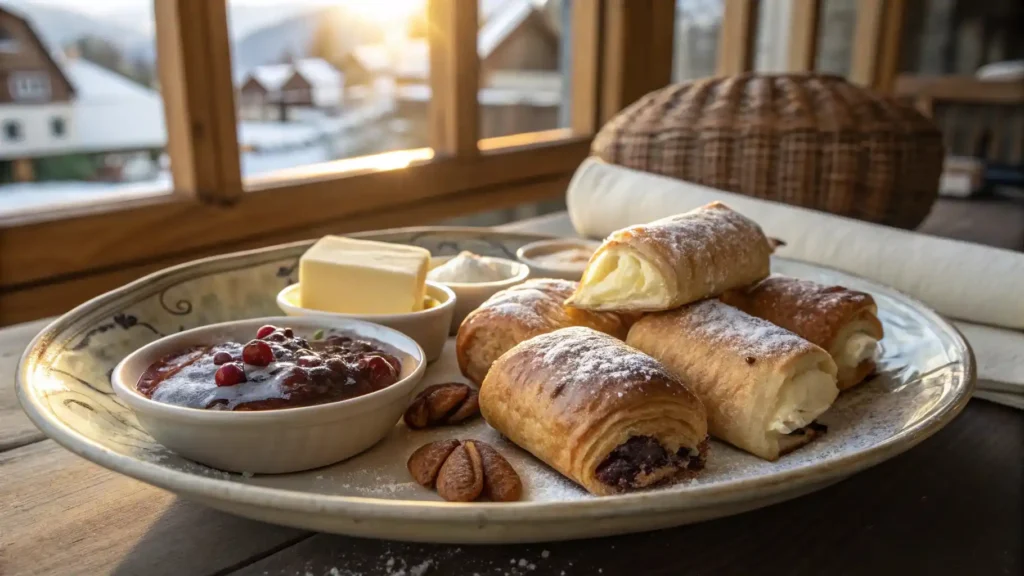
Gipfeli shine brightest when served warm from the oven within a few hours of baking. Classic accompaniments include:
- High-quality butter and fruit preserves (especially apricot, raspberry, or black cherry jams)
- A selection of alpine cheeses and cold cuts for a complete Swiss breakfast
- Birchermüesli for an authentic morning meal
Moreover, gipfeli offer remarkable versatility. The Butter-Gipfeli represents the classic version, yet numerous variations exist, including the popular Schoggi-Gipfeli (chocolate-filled) and Laugengipfeli (pretzel-style). These variations make them appropriate for various occasions, from simple breakfasts to elegant brunches.
For those who love planning ahead, gipfeli have a relatively long shelf-life compared to many fresh pastries. If they begin to dry out, a creative Swiss solution involves cutting them into pieces and baking them with eggs, Swiss cheeses, and spices—transforming yesterday’s breakfast into today’s savory delight.
Essential Ingredients and Tools for This Swiss Gipfeli Recipe
Creating the perfect Swiss gipfeli begins with selecting premium ingredients. Throughout my journey mastering these pastries, I’ve discovered that the quality and precise handling of each component make all the difference between an ordinary croissant and an authentic gipfeli.
Key Ingredients That Create Flaky Layers in Gipfeli
The magic of gipfeli’s flaky texture comes from specific ingredients working together:
All-purpose flour forms the foundation of your dough. For more authentic results, some bakers recommend high-protein bread flour which provides better structure. The most accurate way to measure flour is by weight rather than volume – simply spoon it into measuring cups and level with a knife without pressing down.
Unsalted butter is essential for lamination. The butter should be cold yet pliable when you’re ready to create those delicious layers. I’ve found that keeping butter in the refrigerator until needed ensures those perfect flaky pockets.
Fresh active yeast (or active dry yeast) activates the dough. Remember to use lukewarm milk (around 105°F/40°C) – too hot and you’ll damage the yeast, too cool and it won’t activate properly.
Additional essentials include granulated sugar (2-3 tablespoons), fine sea salt (1-1½ teaspoons), and eggs for both the dough and the final wash that gives gipfeli their golden shine.
Best Tools for Making Homemade Gipfeli Like a Pro
Even without professional bakery equipment, you can achieve excellent results with these essential tools:
- Large mixing bowl for combining ingredients
- Rolling pin (French style works best for even pressure)
- Sharp knife or pastry cutter for shaping
- Baking sheets that won’t warp in high heat
- Pastry brush for applying egg wash
- Kitchen scale for precise measurements
- Parchment paper to prevent sticking
For serious bakers looking to elevate their gipfeli recipe, these additional tools prove valuable:
- Bench scraper for handling dough
- Spray bottle for misting
- Ruler or measuring tape for consistent sizing
- Digital thermometer for checking milk temperature
As one baker I met in Zurich told me, “The most important tools are your hands and your patience.” Nevertheless, having reliable equipment makes the process more enjoyable.
Choosing the Right Butter and Flour for Authentic Gipfeli
The secret behind exceptionally flaky gipfeli lies primarily in your choice of butter. European-style butter with at least 82 percent butterfat creates those distinct layers that define perfect Swiss pastries. Unlike regular American butter (80% fat), European butter contains less water, resulting in cleaner layers and richer flavor.
For flour, the protein content matters significantly. While all-purpose flour works well for beginners, many Swiss bakers prefer higher-protein bread flour for that characteristic chewy-yet-flaky texture. In fact, some recipes suggest using a blend – substituting up to 25% whole wheat flour for added nutrition without sacrificing lightness.
Temperature control remains crucial throughout the process. I keep my rolling pin in the freezer before use and often work in short sessions with refrigeration breaks between. Even on warm days, this prevents the butter from melting into the dough layers – the primary cause of dense, greasy pastries.
The quality of each ingredient directly impacts your final product. Unlike store-bought versions, homemade gipfeli allow you to control exactly what goes into your pastry. This results in fresher flavor and an unmistakable homemade quality that simply can’t be replicated by mass-produced alternatives.
Step-by-Step Swiss Gipfeli Recipe for Beginners
The secret to mastering a proper Swiss gipfeli recipe lies in understanding each critical step of the process. Having perfected these buttery pastries over countless attempts, I’m excited to share my foolproof method that delivers consistent results.
1. Prepare the Yeast Dough for Your Gipfeli Recipe
To begin with, activation of the yeast is crucial for proper rising:
- Combine lukewarm milk (around 110°F/45°C) with 1 teaspoon of sugar and active dry yeast in a small bowl
- Let this mixture sit for 5-10 minutes until foamy and bubbly
- In a separate large bowl, mix 4 cups of all-purpose flour with 3 tablespoons of sugar and 1½ teaspoons of salt
- Add the activated yeast mixture to your dry ingredients along with one beaten egg
- Mix until a soft dough forms, then knead for approximately 5-7 minutes until smooth and elastic
- Form the dough into a ball, place in a greased bowl, cover, and let it rise for 1-2 hours until doubled in size
2. Laminate the Dough With Cold Butter for Maximum Flakiness
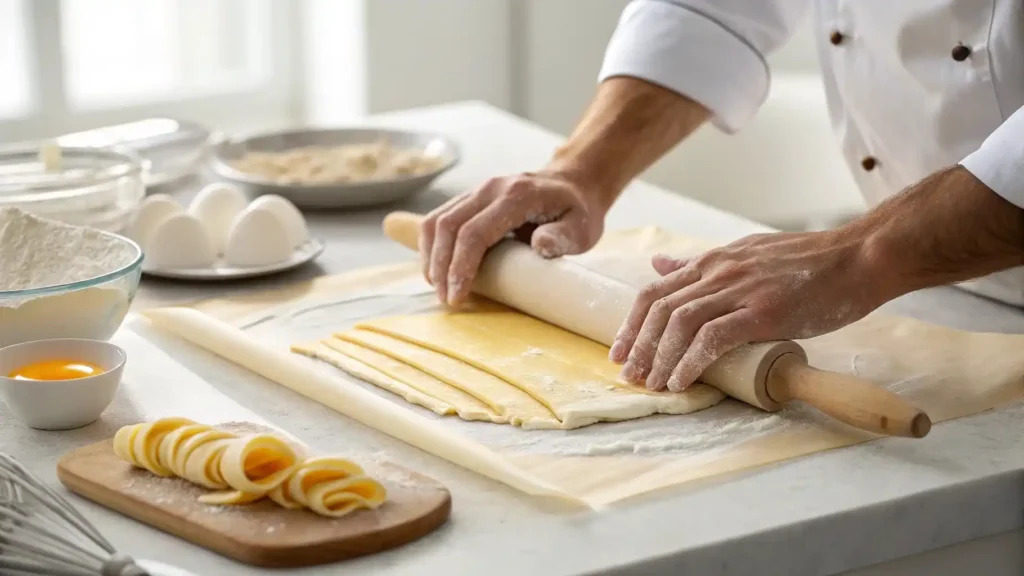
The lamination process creates those distinctive flaky layers:
- While the dough rises, prepare your butter by placing it between two sheets of parchment paper
- Use a rolling pin to pound the cold butter into a thin rectangle about ¼-inch thick
- Chill this butter sheet until firm but still pliable—not completely solid
- Roll your rested dough into a large rectangle approximately 18×10 inches
- Place the prepared butter sheet over half the dough, leaving a small margin around the edges
- Fold the uncovered dough half over the butter, sealing the edges by pinching them together
3. Fold and Chill the Dough Properl
Proper folding creates the signature flaky texture:
- Roll the butter-encased dough into a rectangle about 16×10 inches
- Fold one-third of the dough toward the center, then fold the opposite third over it (like folding a letter)
- Wrap the folded dough in plastic and refrigerate for 30 minutes
- Repeat this rolling and folding process two more times, chilling for 30 minutes between each fold
- After the final fold, refrigerate the dough for at least 30 minutes before shaping
4. Shape the Dough Into Classic Gipfeli Crescents
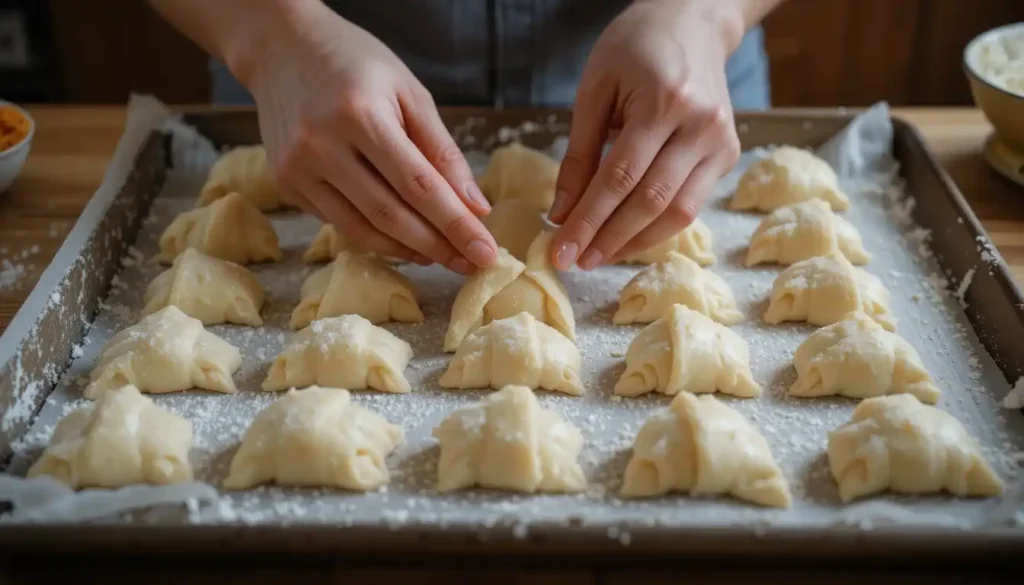
Now comes the satisfying process of creating those perfect crescents:
- Roll the chilled dough to about ¼-inch thickness
- Cut the dough into triangles with bases approximately 4-5 inches wide
- Make a small cut (about 1 inch) in the center of each triangle’s base
- Gently stretch each triangle slightly, especially at the base
- Starting from the base, roll toward the tip, pulling slightly as you go
- Curve the ends inward to create the classic crescent shape
5. Proof and Bake Your Gipfeli to Golden Perfection
The final steps ensure properly risen, golden pastries:
- Place shaped gipfeli on parchment-lined baking sheets, leaving space between each
- Cover loosely with a kitchen towel and let them proof for about 45 minutes until puffy
- Preheat your oven to 375°F (190°C)
- Create an egg wash by beating one egg yolk with a tablespoon of milk
- Gently brush the proofed gipfeli with egg wash for that signature golden shine
- Bake for 15-20 minutes until deeply golden brown and flaky
- Allow to cool slightly before serving—they’re best enjoyed warm
Remember that keeping ingredients cold throughout the process prevents the butter from melting into the dough, ensuring those distinct flaky layers that make gipfeli so special.
Tips for Perfect Flaky Pastries From a Foolproof Gipfeli Recipe
Temperature control stands out as the cornerstone of successful gipfeli baking. After mastering this Swiss delicacy through countless trials, I’ve gathered essential tips that transform ordinary attempts into bakery-quality results.
Keep Ingredients Cold for Better Layer Formation
The foundation of flaky gipfeli begins with proper temperature management. Cold butter creates steam pockets during baking, which in turn results in those delightful layers we crave. European-style butter with at least 82% butterfat works best since it contains less water and more fat—crucial for achieving perfect lamination.
Whenever the butter starts softening throughout the process, pause immediately and refrigerate the dough for 15 minutes. This prevents the butter from melting into the dough layers, which would otherwise result in dense, greasy pastries. On warm days, consider using a marble or stainless steel surface to maintain cooler temperatures.
Don’t Skip Resting Times in Your Gipfeli Recipe
Patience truly rewards the gipfeli baker. Each resting period between folds serves a vital purpose—allowing the gluten to relax and butter to firm up properly. An overnight rest in the refrigerator not only makes rolling easier yet enhances flavor development substantially.
For the final proof before baking, allow shaped gipfeli to increase in size by approximately 50%. They should feel light and puffy when gently pressed. For consistent rising temperatures, a slightly warmed (but turned off) oven creates the ideal environment.
How to avoid overworking the dough
Handle your dough minimally to prevent developing too much gluten. Mix just until ingredients come together—overworking leads to tough rather than tender pastries. Gentle, even rolling maintains the integrity of your butter layers.
When rolling and folding, aim for consistent pressure and even layers. The lamination process requires precision rather than strength—let your rolling pin do the work instead of forcing the dough.
Egg wash for shine and color
A proper egg wash elevates your gipfeli from homemade to professional-looking. Combine one egg with a tablespoon of milk, whisking thoroughly. Apply evenly with a pastry brush before baking, ensuring complete coverage without pooling.
For deeper golden color, consider applying a second light egg wash a few minutes before the gipfeli finish baking. Some bakers add a pinch of sugar on top for extra sweetness and shine, creating a slight sugary crunch that beautifully complements the pastry.
Popular Gipfeli Variations to Try With This Easy Recipe
Beyond the classic butter version, gipfeli offer wonderful opportunities for creative variations. Throughout Switzerland, bakers have developed numerous sweet and savory adaptations that showcase the versatility of this beloved pastry.
Schoggi Gipfeli Recipe: Chocolate-Filled Delight
The chocolate-filled gipfeli transforms the traditional pastry into an indulgent treat. For authentic Schoggi Gipfeli, I prefer using high-quality dark chocolate batons or thinly sliced baking chocolate bars. Ghirardelli baking bars work exceptionally well as they slice neatly and fit snugly inside the dough. Simply place the chocolate piece at the base of each triangle before rolling into the crescent shape. Once baked, the melted chocolate creates a delicious molten center that perfectly complements the flaky exterior. Occasionally, Swiss bakers enhance this variation by dipping the ends in chocolate after baking for extra decadence.
Mandelgipfel (almond-filled)
Mandelgipfel represents another popular sweet variation featuring a rich almond filling. Traditional recipes combine ground almonds, powdered sugar, egg white, and almond extract into a smooth paste. Before rolling the dough into crescents, spread a thin layer of this almond mixture onto each triangle. After baking, these pastries typically receive either a light dusting of powdered sugar or a drizzle of icing. Alternatively, some bakers sprinkle toasted almond slivers on top for added texture and visual appeal. Accordingly, Mandelgipfel offers a slightly chewier bite compared to regular gipfeli.
Savory options like cheese or ham
Savory gipfeli variations make fantastic appetizers or dinner accompaniments. Schinkengipfeli (ham-filled) remain particularly popular for Swiss “Apéro” gatherings. To create savory versions, incorporate ingredients like:
- Grated Gruyère or Emmental cheese for authentic Swiss flavor
- Thinly sliced ham for classic Schinkengipfeli
- Herbs such as rosemary for aromatic depth
- Sesame or poppy seeds sprinkled on top after egg wash
These savory adaptations prove remarkably versatile—perfect for breakfast, lunch, or dinner.
Mini Gipfeli for parties
Mini versions of gipfeli essentially follow the same recipe but require less baking time—approximately 12-15 minutes versus the usual 18-20. These bite-sized treats make impressive additions to breakfast spreads, brunches, or holiday gatherings. Fortunately, mini gipfeli can be prepared a day ahead and refrigerated before baking, making them ideal for entertaining. Simply brush with egg wash just before baking for that signature golden shine. Their diminutive size allows guests to sample multiple variations without feeling overwhelmed.
More Delicious Recipes to Try
If you enjoyed learning how to make Swiss gipfeli, why not explore more delightful recipes? For a refreshing twist, check out this Strawberry Margarita Recipe — perfect for those warm days when you’re looking for something sweet and tangy.
Conclusion
After mastering the art of Swiss gipfeli, you’ll undoubtedly appreciate why these pastries hold such a special place in Switzerland’s culinary heritage. Though similar to French croissants at first glance, gipfeli truly stand apart with their distinctive texture, flavor profile, and preparation method. The slightly sweeter taste, firmer bite, and reduced butter content create a unique pastry experience that’s both indulgent yet practical for everyday enjoyment.
Throughout this journey, we’ve explored the essential differences between gipfeli and croissants, examined the critical ingredients and tools needed, walked through the detailed step-by-step process, and discovered various delightful variations. Most importantly, we’ve uncovered the secrets that professional Swiss bakers have perfected over generations – particularly the paramount importance of temperature control and proper lamination techniques.
Swiss gipfeli certainly require patience and precision. Nevertheless, the reward of pulling perfectly golden, flaky pastries from your oven makes every careful fold and chill worthwhile. Whether you choose the classic butter version, indulgent chocolate-filled schoggi gipfeli, or explore savory variations, these pastries will transform your breakfast table.
Finally, remember that practice truly leads to perfection. My first attempts at gipfeli weren’t nearly as beautiful as those from Swiss bakeries, but with each batch, they improved significantly. The process itself becomes meditative – working the dough, creating those perfect layers, and sharing the results with appreciative friends and family members. Fresh from your oven, these golden treasures connect you directly to Swiss culinary tradition while filling your home with an irresistible aroma that no store-bought version could ever match.
Swiss Gipfeli
Equipment
- Baking Sheet
- Rolling Pin
Ingredients
- 3 cups Flour
- 1 tsp Salt
- 2 tsp Instant Yeast
- 2 tbsp Sugar
- 1/2 cup Butter softened
- 1/2 cup Milk
- 1 Egg for the dough
- 1 Egg Yolk for brushing
Instructions
- Combine warm milk, sugar, and yeast. Let it sit for 5 minutes to activate the yeast.
- In a large bowl, mix the flour and salt. Add the activated yeast mixture and softened butter. Knead until you get a soft dough.
- Cover the dough and let it rise for about 1 hour, or until it has doubled in size.
- Preheat your oven to 350°F (175°C) and line a baking sheet with parchment paper.
- Divide the dough into 12 equal portions. Roll each portion into a circle and cut it into wedges, then roll them into crescent shapes.
- Place the formed Gipfeli on the prepared baking sheet. Brush them with egg yolk for a golden finish.
- Bake for 15-20 minutes or until they are golden brown.